Main Page
Revision as of 13:16, 29 August 2022 by David Ashton (talk | contribs)
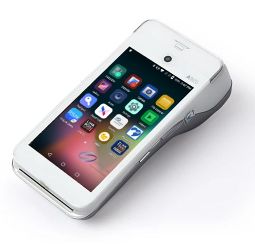
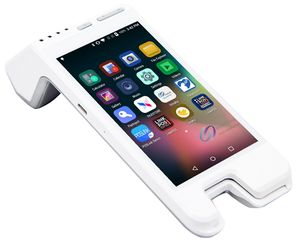
PAX devices
- Initial PAX device setup.
- Setup as a customer facing display payment terminal.
- Pair PAX device with an iPad register.
- Close the batch manually.
- Configure offline mode
- Tender and order with a gift card and use the PAX device to get the gift card number: video
- Lookup a transaction on the PAX that did not get recorded on the LinkPOS app and void the transaction: video
- The LinkPOS app won't load.
LinkPOS iPad app
-
- Using a PAX with LinkPOS
- QuickBooks Desktop Export
- Import Menu from an Excel file
- Inventory Instructions
- Generic Data API EndPoint Instructions
- Fixed Mount Scanner Setup
- New iPad initial setup
- Adding a cash tip to a cash payment while using cash discounting
- Settings
- How to Create Delivery Areas Using Google Maps
- Permissions required to communicate with the PAX and any other device on the network.
- Setup and usage of the time clock features.
Printers
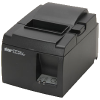
|
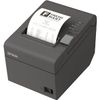
|
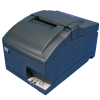
|
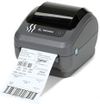
|
|---|---|---|---|
| Star printer | Epson printer | Star SP 700 Impact printer | Zebra label printer |
Local Network
- All of the devices in the system must be on the same local network. There needs to be a single WIFI network that all of the iPads and PAX devices connect to. The router that provides the WIFI network also needs to have ethernet ports so the printers can be plugged in to the same network. If there aren't enough ethernet ports an ethernet hub can be plugged in to the router and then the printers can be plugged in to the ethernet hub.
- Apple Airport Extreme router configuration
- Connect an iPad to the network.
- Connect a PAX device to the network.
- Connect an Epson printer, Star Micronics printer, Zebra label printer to the network.
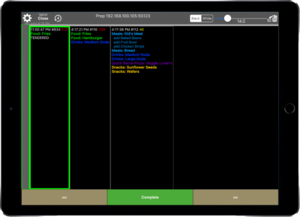
Bump screen
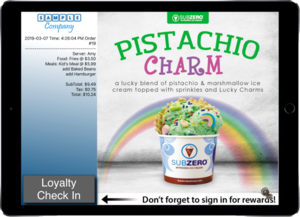
Customer Facing Display
- Here is a video showing how to set up an iPad as a customer facing display: video
TimeClock
Payroll
Legacy devices
- Go here for support documents on devices that are no longer the default configuration.
