Epson printer configuration
Epson Printer Configuration
The printers must have static IP addresses. Below are the steps to follow to assign a printer a static IP address.
You can use a web browser to configure the printer to use a static IP address.
Get the IP Address of the printer
On the back panel of the printer next to the network cable is a hole with a small black button. Use a pen tip press the button for about 4 seconds. The printer will print out a sheet of paper with the network settings on it. The IP Address line will tell you the IP address the printer is using. Use this number to access the configuration page from a web browser as explained below:
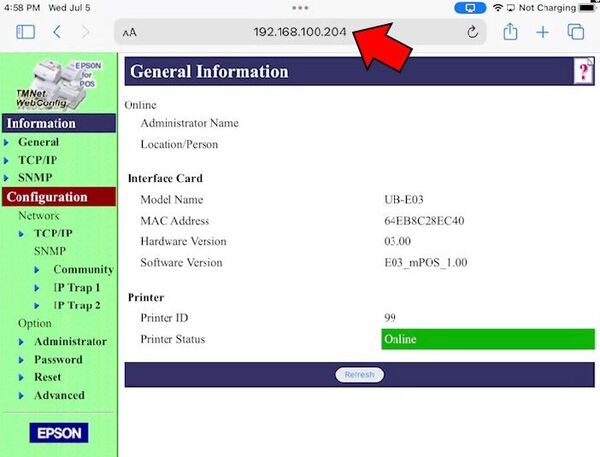
Web Browser
- Use an iPad or a laptop on the same network as the printer.
- Bring up the web browser.
- In the address bar enter the IP address of the printer and hit enter. This will bring up the printer network utility page.
- Select TCP/IP from the Configuration menu
- Change the Get IP Address setting to Manual
- Enter the static IP address for this printer in the IP Address field. eg 192.168.100.200
- The IP address must be unique for each printer. We suggest using numbers after the last dot like 200, 201, etc.

- Touch Submit to save the changes.
- Turn the printer off and then back on.

